Cooking lessons

Bruschetta al Pomodoro con Fagioli Cannellini

Ingredients for 4 people:

  • 2 tablespoons of canned cannellini beans
  • 2 ripe red tomatoes
  • 4 fresh basil leaves
  • 1 clove of fresh garlic
  • 2 three-fingered pinches of salt
  • Freshly ground black pepper
  • 2 tablespoons of extra virgin olive oil
  • 4 slices of Tuscan bread, each approximately 1 finger thick

What you need:

  • A wooden chopping board, one with a smooth blade and one with a saw blade
  • A bowl for mixing ingredients
  • An oven for toasting bread

Method:

  1. It is wonderful to have all of these lovely colors spread on the table. Can you smell the beautiful scent of basil? In Tuscany, bruschetta refers to toasted bread. The most renowned bruschetta in our region is made with oil and is also used to sample freshly pressed olive oil.
  2. To prepare it, rub garlic on a lightly toasted piece of bread and generously pour the finest extra virgin olive oil. Finally, add a pinch of salt. Now, let us return to our tomato bruschetta.
  3. Preheat the oven to 200°C (400°F). Chop the garlic into very small pieces and put them in the bowl. Tear the basil leaves with your fingers to prevent them from becoming dark. Use the saw-bladed knife to cut the tomato into cubes approximately the size of your thumbnail.
  4. Combine all the ingredients in the bowl, then add salt, pepper, and olive oil. Use a spoon to mix from the inside of the bowl’s rim towards the center, this gives a thorough and even distribution.
  5. Allow the mixture to rest for a few minutes to enhance the flavors. Meanwhile, toast the bread for 10 minutes. The key to perfect bruschetta is achieving a crisp exterior while maintaining a soft interior. This ensures that the bread adheres to your palate and delivers its full flavor.
  6. After toasting, mix the seasoning again and use a spoon to pick up both the ingredients and the seasoning. Generously spread them over the slice of bread. Serve immediately to have the perfect texture.

Panna Cotta

Ingredients for 6 people:

  • 250ml fresh cream
  • 250 ml whole milk
  • 5 tablespoons of sugar
  • 1 bag (13 g) of gelatine
  • 1/2 vanilla pod
  • Organic lemon juice and zest
  • Strawberries (about 300g)

What you need:

  • Knife
  • Pot
  • Glass jars

Method:

  1. In a pot, combine 3 tablespoons of sugar with the jelly, vanilla seeds, and the pod. Add a little bit of milk and mix thoroughly until you achieve a smooth, lump-free mixture. Gradually add the remaining milk and cream, stirring continuously. Bring the mixture to a boil.
  2. As soon as it begins to thicken, remove the pot from the heat and pour the panna cotta into small containers (glass jars) until they are about half full. Allow the panna cotta to cool at room temperature before refrigerating it.
  3. In the meantime, prepare a fruit salad by combining strawberries, lemon zest, lemon juice, and sugar. Gently stir the mixture and refrigerate it.
  4. Before serving, top the panna cotta with strawberries and, if desired, garnish it with a fresh mint leaf.

For our “Chocolate Lovers,” we have a special version of the Pannacotta that we made during our cooking classes. Here’s the recipe for that:

Ingredients for 6 people:

  • Water: 200 g
  • Liquid fresh cream: 80 g
  • A pinch of salt
  • Dark chocolate: 450 g
  • Sugar: 150 g

Method for chocolate topping:

  1. Chop the chocolate.
  2. Pour water and sugar into a saucepan. Bring to a boil. As soon as it starts to boil, add the cream. Let it boil again.
  3. Add half of the dark chocolate and mix continuously with a whisk. After, add the remaining chocolate and stir again.
  4. As soon as it starts to boil again, transfer it to a bowl and add a pinch of salt.
  5. Mix and let it cool at room temperature (30-32°) until thick. This will take approximately 15-20 minutes.

pannacotta al cioccolato


pannacotta al cioccolato

Filetto di Maiale all’antica

Ingredients for 4 people:

  • 400 g of pork fillet
  • 4 cloves of fresh garlic
  • 2 twigs of fresh rosemary
  • 4 tablespoons of olive oil
  • 4 pinches of salt
  • 2 pinches of black pepper
  • ½ cup of red wine (the same wine served at the table)

What You Need:

  • Frying pan to cook all the meat
  • Chopping board
  • Smooth-bladed knife

Method:

  1. Carefully arrange each ingredient on the table. Once you have everything ready, begin by preparing a dry marinade. Chop rosemary and garlic finely, then add salt and pepper. Mix the ingredients thoroughly with your fingers.
  2. Pour the marinade onto the chopping board and roll the fillet so that all the seasoning adheres to it. Dry marinades are strong and get the meat to taste good faster than liquid ones. Once you’ve let it sit for about 10-15 minutes, light the gas under your frying pan with some oil and a rosemary sprig.
  3. Check the oil temperature: when the spring sizzles, it indicates the oil is at the right temperature. In the meantime, cut one-finger-high fillet medallions and place them one next to the other in the frying pan, ensuring they don’t overlap.
  4. On a heated pan, brown the first side of each medallion, then turn them over. Once the other side is also browned, add the wine and flip them again. You’ll notice the meat has not only absorbed the flavor but also developed a beautiful color reminiscent of Chianti.
  5. Wait for the wine to evaporate and the food to slightly shrink before serving it directly from the frying pan.

Fiori di Zucca Fritti con Ripieno

Ingredients for pastella:

  • Zucchini flowers (at least 2 per person)
  • 1 ice cube
  • 1 egg
  • Flour 00
  • Fresh sparkling water
  • Extra virgin olive oil
  • Salt

What you need:

  • Blotting paper to place on a tray or plate
  • Pan
  • Pliers to rotate the leaves
  • Basin to make the pastella
  • Fork

Method:

  1. Take the basin and add 2 tablespoons of flour, an egg, and mix them together.
  2. Add an ice cube to cool the batter and gradually add cold sparkling water until the consistency of the pastella is light. It should stick to the zucchini flower but not completely cover it.
  3. Prepare all the leaves by dipping them several times in the batter. Heat the pan with oil and drop a drop of pastella into it. The oil is ready when it starts to sizzle. Fry several flowers at the same time while keeping the oil temperature low.
  4. As soon as the flowers turn golden brown, remove them from the pan and place them on a plate lined with absorbent paper. Add a pinch of salt to the flowers and your appetizer is ready.

Enjoy your appetizer with a nice bottle of wine and have fun!

Zucchini Flower Fried

Tiramisù

Ingredients for 8 people:

  • 250 g of mascarpone cheese
  • 3 full spoonfuls of sugar
  • 3 whole eggs
  • 2 spoonfuls of unsweetened cocoa powder
  • 16 Savoiardi cookies (ladyfingers)
  • 1 cup of Italian espresso coffee

What you need:

  • An electric or manual whisk
  • A bowl
  • A rectangular oven serving dish, measuring about 30×15 cm

Method:

  1. Separate the egg whites from the yolks and beat the whites into stiff peaks (like meringue).Add the yolks and continue beating.
  2. Gradually add the sugar and mascarpone, beating more slowly. Be careful not to beat it too long, as it will make the mixture too thick.
  3. Once the mascarpone cream is ready, soak half of each Savoiardi in it along its length.Place the cookies with the dry side facing upward, one next to the other, to create a compact layer without overlapping. Pour all the mascarpone cream over the cookies and level the surface using a paddle.
  4. Sprinkle the cocoa powder evenly over the surface of the cream. Refrigerate the dessert for at least 2 hours, but no more than one day, before serving.

Some recipes suggest adding liqueur to the coffee, but I prefer to serve it in a glass to drink, perhaps as you savor my tiramisù!

Pici all’Aglione

Ingredients for 4 people:

For the pici:

  • 200 ml of water
  • 400 gr of “00” flour
  • A pinch of salt
  • 2 drizzles of extra virgin olive oil

For the Aglione Sauce:

  • 1 clove of Aglione or 4 cloves of garlic
  • 500 gr of ripe cherry tomatoes
  • A few basil leaves
  • A pinch of salt and pepper
  • Extra-virgin olive oil

Method for the sauce:

  1. Cut the cherry tomatoes into 2 or 4 pieces, depending on their size. Heat the finely chopped garlic in the oil.
  2. As soon as bubbles form around the garlic, add the tomatoes and basil to the pan. The tomatoes play a crucial role in reducing the oil temperature, preventing the garlic from burning. Season with salt and pepper while cooking. Cook for a short time to retain the freshness of the tomatoes.


Method for the pasta:

Pici All’Aglione Fresh Pasta

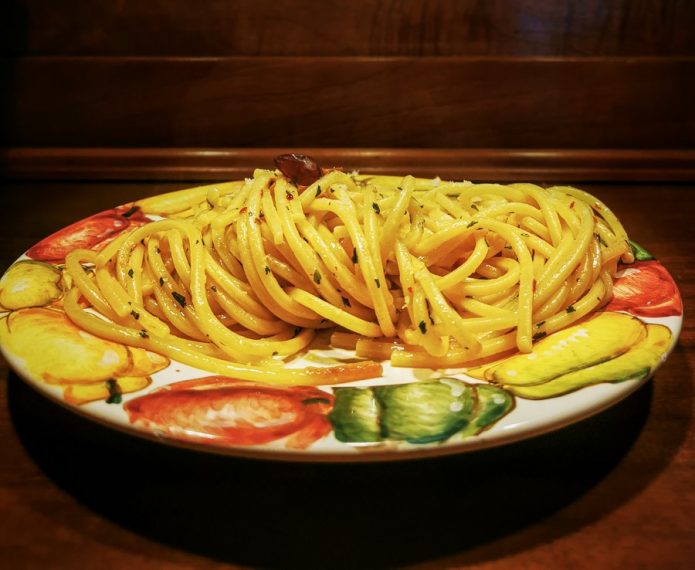
Aglio, Olio & Peperoncino, the Trinity of Midnight Spaghetti.

When I think of pasta, spaghetti is the first thing that comes to mind. And when I think of spaghetti, tomato sauce is the first thing that comes to mind. But then, I think of Aglio Olio e Peperoncino. It’s a versatile recipe that can be made for any occasion. It’s the pasta that feeds everyone and makes everyone happy. And most importantly, it’s the pasta that you can make when your pantry is empty.

If you ask any Italian about this pasta, they’ll likely recall memories of an unexpected visit and an improvised meal. They might remember a late-night “spaghettata” after a hangout with friends or the everyday pasta that they make when they don’t have time or don’t want to cook anything too sophisticated.

When your pantry is empty and your fridge is lonely, you still have a bottle of olive oil, a clove of garlic that you’ve forgotten somewhere, some dried chili pepper or powder, and of course, spaghetti!

Like any simple recipe, the quality of the ingredients and the quality of execution are essential. Here, we’re talking about extra virgin olive oil and pasta al dente.

Ingredients for 4 people:

  • 6 tablespoons olive oil
  • 2 cloves of garlic
  • 1 chili pepper
  • 400g spaghetti

Method(watch the video):

  1. In a pan, warm up the oil along with the crushed cloves of garlic and the chili pepper to taste. Just before the garlic turns brown, turn off the heat to avoid a bitter taste.
  2. In a large pot of boiling water, add a handful of salt and cook the spaghetti. Strain the pasta one minute before the time indicated on the package. Then, add the pasta to the pan with the hot olive oil and sauté for a minute. Add a cup of the pasta water as the sauce reduces slightly.
  3. There are various versions and opinions on the final garnish. Remember, this is a pasta made with what you have at home, so feel free to add fresh parsley or Parmesan cheese on top, to your taste.

An honorable mention goes to the spicy mix made in Tuscany by a friend. Simply add two teaspoons of this dry mix to the oil, and the job is done. We tried it last weekend, and it was very surprising and hot!

Buon Appetito!

Panzanella – Traditional Tuscan Bread Salad

Ingredients for 6 people:

  • 600 grams of two-day-old Tuscan bread
  • 6 ripe but firm tomatoes
  • 1 red onion
  • 1 cucumber of your preferred variety
  • A handful of basil leaves
  • 6 tablespoons of red wine vinegar
  • 3 four-finger pinches of salt

(Note) The key to making a delicious Panzanella lies in knowing how to soak the bread, using good extra virgin olive oil, and excellent vinegar. But if you follow my instructions, you’ll all become master Panzanella makers!

Method:

  1. On the table in front of you, arrange the following items from left to right (if you’re right-handed, do the opposite): the old bread cut into slices about one finger thick, a basin filled with cold water, and an empty salad bowl.
  2. Soak each slice of bread in the cold water for about 5 seconds, then squeeze out all the excess water using your hands. Next, break the soaked bread into large chunks and place them in the salad bowl.
  3. The bread should be damp but not soggy. If you leave it in the water for too long, it will become a pulp that won’t blend well with the fresh vegetables.
  4. Now, you’ve done most of the work! Cut the tomatoes into thumb-sized pieces, slice the onion into thin rings, break the basil leaves with your fingers, peel and slice the cucumber into thin round slices. Finally, add the seasoning: olive oil, salt, and vinegar.
  5. Mix the ingredients gently with your hands to avoid breaking down the texture. Let the Panzanella cool in the refrigerator for at least half an hour before serving.

Farmers used to make this dish during the harvest season to refresh themselves. It was often brought directly to the fields by their wives, saving time by not having to return home for lunch. Originally, it was a simple dish, often accompanied by diluted wine. It was a refreshing and light meal that quenched thirst without being heavy. The recipe has a long history, dating back to 700 years ago when Giovanni Boccaccio, a poet from our town, referred to it as “Pan lavato,” or “washed bread.” Tomatoes were added to the dish after the discovery of the New World. The name seems to be a combination of “pane,” meaning bread, and “alzanella,” an old word for a large salad bowl.


P – for Pasta: fresh, handmade & delicious

Raise your hand if you’re a homemade pasta lover!

One thing I have noticed throughout the years, is that usually making fresh pasta is the best part of my cooking classes for our guests. I mean, let’s admit it, everybody loves the ITalia’s-style fresh pasta, and if you’re visiting Italy, pasta is one of the reasons why you’re here! So delicious, savory and somewhat chewy, fresh pasta can be complemented with almost everything from cheese to vegetables, meat, fish and even chocolate! Plus, if cleverly accompanied by the right wine, it makes the perfect Italian meal.

It’s been said to be one of the healthiest and most nourishing dishes worldwide, as part of the mediterranean diet, so why be limited to just eating pasta at the restaurant every once in a while, when you can make it from scratch at home, whenever you wish.

Now, I know from my experience that cooking a dish of fresh pasta could sound rather intimidating for those who’ve never tried before, or have only seen it on TV. But I have some good news for you all, and according to my experience again, I can guarantee you that even a ten-year-old can do this, and you’ll never go back to buying fresh pasta again.

There’s something magical about making pasta at home the old way, that no one has yet managed to figure out. I myself have been doing it for years now, and every time I still have fun just like the old days.

It could be the marvel of feeling the dough coming together between your hands, or maybe the relaxing process of kneading and shaping, but as soon as you get your hands on and start doing it, you never want to stop. Then as you go, your mind lights up and you begin experimenting all different kind of shapes and fillings for your dough, and before you know it, you find yourself inviting your friends over for a meal and getting all the compliments and “aaaw”s and “oooh”s for your fresh Italian-style dishes.

It can get really fun and become a social activity to share with your kids, too. Don’t worry about the flour dust, streaked aprons and flaky bits of dough crusted on the kitchen counter. It doesn’t have to be a demanding work, so don’t loose heart if you don’t get it the first time. Just go for it and then keep trying. All you need is “an open heart and a positive attitude”, as my son Luca always says to our guests.

pasta-fresh-handmade-flour

We don’t need another pasta recipe

If you google fresh pasta you’ll find loads of recipes and every one will be different from the others, because every family has its own tradition when it comes to making pasta. So my intention isn’t just to give you one more fresh pasta recipe, but rather some helpful tips that I always share during my cooking classes.

My guests always appreciate the little tricks and tips I reveal and become more confident as they go, letting loose and having so much fun, which in the end, is the main purpose of this experience, don’t you agree?

So what’s really important is to have the right type of flour. My fail-proof recipe is based on the high-protein, finely milled “00” wheat flour, but if you have issues finding it, you can just go with the plain flour, or mix 2 parts of it with 1 part of semolina flour: this will add that slightly rougher texture that’ll help seasonings stick better to your pasta.

On a wooden or marble counter, start building a so-called “fountain” and break the eggs right in the middle, making sure they are well contained by the flour around them. Then add just a pinch of salt and a sprinkle of extravirgin olive oil. Use a fork to break the eggs and start mixing them reaaally slow, keeping everything inside the flour fountain, until everything is fully incorporated and you get a smooth uniform texture.

Now here comes the fun part! I know in modern times you may be used to getting things done quickly and with an extra help from your stand mixer, but kneading by hand is another story. It really makes you feel the dough coming together and it somehow connects you to the whole process. All you have to do is press and push with your wrist, then fold the dough over and again press and push. Just go ahead and knead it like this until it’s smooth and firm, it’ll take no more than 10-12 minutes.

Using hands gives you the chance to check when your pasta dough is ready – if you feel it’s still sticky, just dust the counter with more flour and keep kneading until firm and dry.

Another important step in making pasta, is to give your dough the necessary time to relax and loose elasticity; that’ll keep it from shrinking or pull back as you stretch it, making it easier for you to roll it flat and shape it. Let’s say about 10 minutes at room temperature, covered by a cotton cloth, should be enough. This’ll also give you the time to reorder the kitchen counter and prepare the pasta machine for shaping, or get the filling ready if you’re into making filled-pasta.

Common forms of fresh pasta have long shapes, such as tagliatelle, fettuccine, spaghetti, linguine or our specialty Tuscan pici, flat shapes such as maltagliati, or sheets for lasagna, short shapes like orecchiette, cavatelli, farfalle, trofie and filled or stuffed shapes such as cannelloni or ravioli, cappelletti and tortellini.
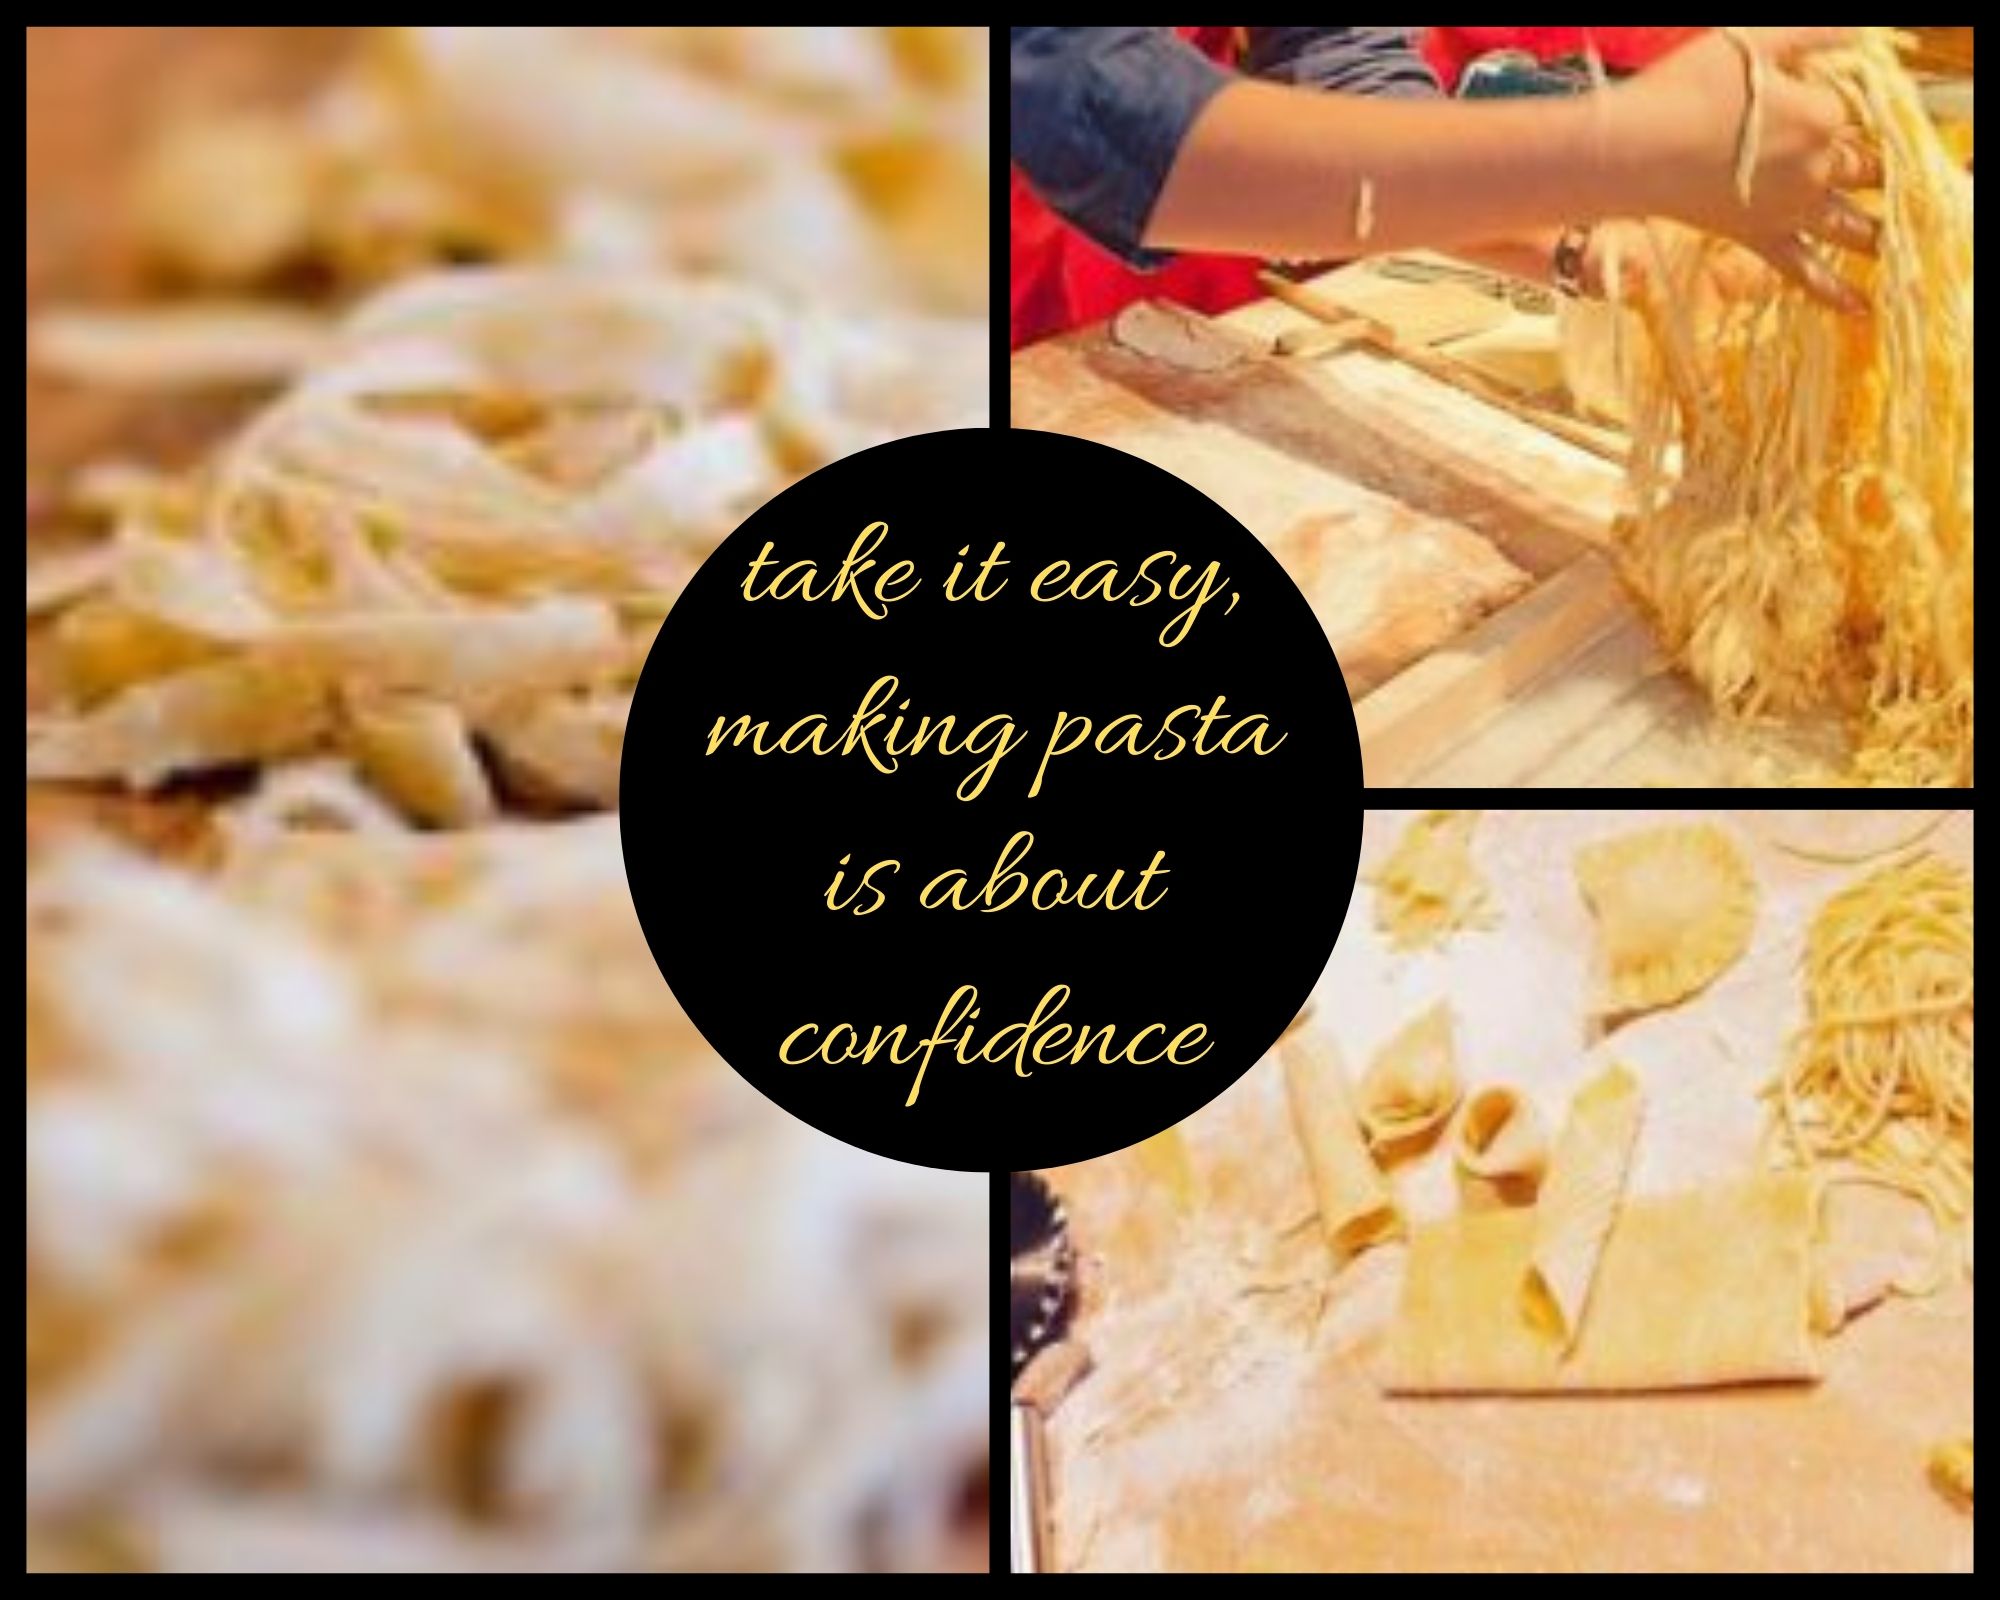
Of course Italy has a very deep-rooted tradition for pasta dishes, and that is why every region has its own traditional pasta shapes and names, that can be totally different from the common ones you are used to. I always suggest to search for and taste the local and regional specialties while visiting any part of Italy, because you’ll never find the same dish cooked alike from one place to another.

Cutting the pasta in the desired shape is also an important part of the process, as you have to pay attention to spread it as thinly as possible and always keep some flour handy, so you won’t get a sticky bundle instead of your tagliatelle nest… I always say to my guests, we want them to be fluffy, fluffy, fluffy, it makes them laugh a lot, but in the end is the one thing they remember the most. So to get that, you need to sprinkle some flour over the shaped pasta and then jiggle it with your hands.

When making filled pasta like ravioli, the most important trick is to press the edges well with your fingertips or a fork to seal the dough, so they won’t open while boiling. And of course, flour again to prevent them from sticking together when cooked.

If you’re not cooking pasta immediately, just let it dry on a baking sheet for a few minutes, sprinkled with flour, then fold it gently to form the nests. You can let it dry some more and then wrap it up and store in the fridge for no more than 2 days. However, I do advise you to taste it fresh, as you make it.

Cooking pasta is another important step of the process, as you need to pay attention to the time: it will only take 5-7 minutes to cook fresh pasta, unlike the dried one, which needs considerably more boiling. Dip your shaped pasta into a pot of plentiful salted boiling water and add just a touch of olive oil, so the strands won’t stick together. For fresh filled pasta, always use a gentle flame and keep the water simmering instead of boiling, so your ravioli won’t break.

One more thing that I always recommend, is to taste everything you cook; so to make sure it has reached the perfect cooking point and has a good balance with the salt, just pick a piece of boiling pasta with a fork or some tongs, and give it a bite. Careful though, don’t get burned!

Needless to say that pasta is at its best when cooked “al dente”, so as soon as you feel it’s tender but still firm when bitten, just drain it. At this point, you should keep the sauce or chosen condiment on hand, because pasta needs to be seasoned and stir-fry immediately.

Now all you need is your family and friends gathered around the table and a good glass of wine to go with your wonderful fresh homemade pasta. Enjoy!