Personal Chef

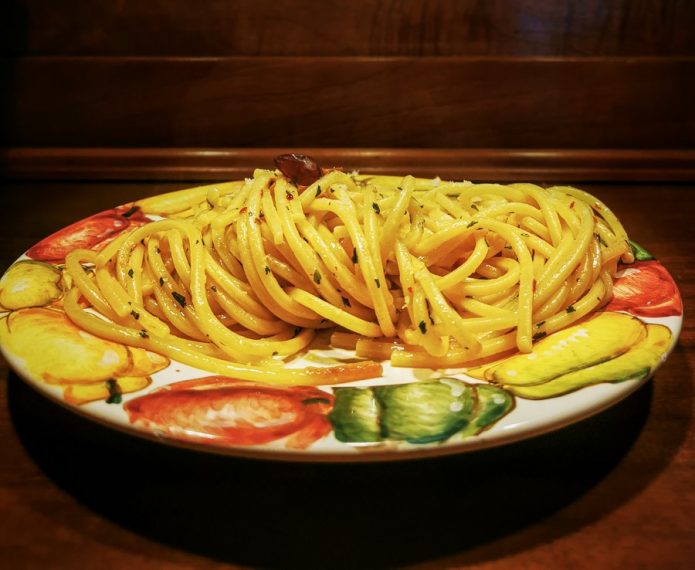
Aglio, Olio & Peperoncino, the Trinity of Midnight Spaghetti.

When I think of pasta, spaghetti is the first thing that comes to mind. And when I think of spaghetti, tomato sauce is the first thing that comes to mind. But then, I think of Aglio Olio e Peperoncino. It’s a versatile recipe that can be made for any occasion. It’s the pasta that feeds everyone and makes everyone happy. And most importantly, it’s the pasta that you can make when your pantry is empty.

If you ask any Italian about this pasta, they’ll likely recall memories of an unexpected visit and an improvised meal. They might remember a late-night “spaghettata” after a hangout with friends or the everyday pasta that they make when they don’t have time or don’t want to cook anything too sophisticated.

When your pantry is empty and your fridge is lonely, you still have a bottle of olive oil, a clove of garlic that you’ve forgotten somewhere, some dried chili pepper or powder, and of course, spaghetti!

Like any simple recipe, the quality of the ingredients and the quality of execution are essential. Here, we’re talking about extra virgin olive oil and pasta al dente.

Ingredients for 4 people:

  • 6 tablespoons olive oil
  • 2 cloves of garlic
  • 1 chili pepper
  • 400g spaghetti

Method(watch the video):

  1. In a pan, warm up the oil along with the crushed cloves of garlic and the chili pepper to taste. Just before the garlic turns brown, turn off the heat to avoid a bitter taste.
  2. In a large pot of boiling water, add a handful of salt and cook the spaghetti. Strain the pasta one minute before the time indicated on the package. Then, add the pasta to the pan with the hot olive oil and sauté for a minute. Add a cup of the pasta water as the sauce reduces slightly.
  3. There are various versions and opinions on the final garnish. Remember, this is a pasta made with what you have at home, so feel free to add fresh parsley or Parmesan cheese on top, to your taste.

An honorable mention goes to the spicy mix made in Tuscany by a friend. Simply add two teaspoons of this dry mix to the oil, and the job is done. We tried it last weekend, and it was very surprising and hot!

Buon Appetito!

Panzanella – Traditional Tuscan Bread Salad

Ingredients for 6 people:

  • 600 grams of two-day-old Tuscan bread
  • 6 ripe but firm tomatoes
  • 1 red onion
  • 1 cucumber of your preferred variety
  • A handful of basil leaves
  • 6 tablespoons of red wine vinegar
  • 3 four-finger pinches of salt

(Note) The key to making a delicious Panzanella lies in knowing how to soak the bread, using good extra virgin olive oil, and excellent vinegar. But if you follow my instructions, you’ll all become master Panzanella makers!

Method:

  1. On the table in front of you, arrange the following items from left to right (if you’re right-handed, do the opposite): the old bread cut into slices about one finger thick, a basin filled with cold water, and an empty salad bowl.
  2. Soak each slice of bread in the cold water for about 5 seconds, then squeeze out all the excess water using your hands. Next, break the soaked bread into large chunks and place them in the salad bowl.
  3. The bread should be damp but not soggy. If you leave it in the water for too long, it will become a pulp that won’t blend well with the fresh vegetables.
  4. Now, you’ve done most of the work! Cut the tomatoes into thumb-sized pieces, slice the onion into thin rings, break the basil leaves with your fingers, peel and slice the cucumber into thin round slices. Finally, add the seasoning: olive oil, salt, and vinegar.
  5. Mix the ingredients gently with your hands to avoid breaking down the texture. Let the Panzanella cool in the refrigerator for at least half an hour before serving.

Farmers used to make this dish during the harvest season to refresh themselves. It was often brought directly to the fields by their wives, saving time by not having to return home for lunch. Originally, it was a simple dish, often accompanied by diluted wine. It was a refreshing and light meal that quenched thirst without being heavy. The recipe has a long history, dating back to 700 years ago when Giovanni Boccaccio, a poet from our town, referred to it as “Pan lavato,” or “washed bread.” Tomatoes were added to the dish after the discovery of the New World. The name seems to be a combination of “pane,” meaning bread, and “alzanella,” an old word for a large salad bowl.


La Sportellina – a Tuscan traditional Easter cake

In Tuscany, we have a unique sweet tradition called “la Sportellina” or “schiacciata di Pasqua” (literally, the Easter squashed bread). It may sound funny for a cake that doesn’t look squashed at all, but the name actually comes from the large number of eggs that need to be cracked (squashed) into the batter.

The countryside Easter traditions

During the old days, Lent was a time of fasting and repentance, so people relied on homemade products. This was a common and deeply religious tradition, especially in the countryside. Most peasant families’ meals consisted of soups, polenta, vegetables from their own farm, or homemade bread and freshly picked herbs. Occasionally, adding a pilchard in oil was a special treat that not everyone could afford. So, it’s no wonder that on Easter, people indulged in abundant dishes and plenty of meat, generously accompanied by a glass or two of good wine!

Food preparations typically began during Holy Week before Easter. Everything had to be produced in large quantities to be shared with families and neighbors as a symbol of gratitude and celebration.

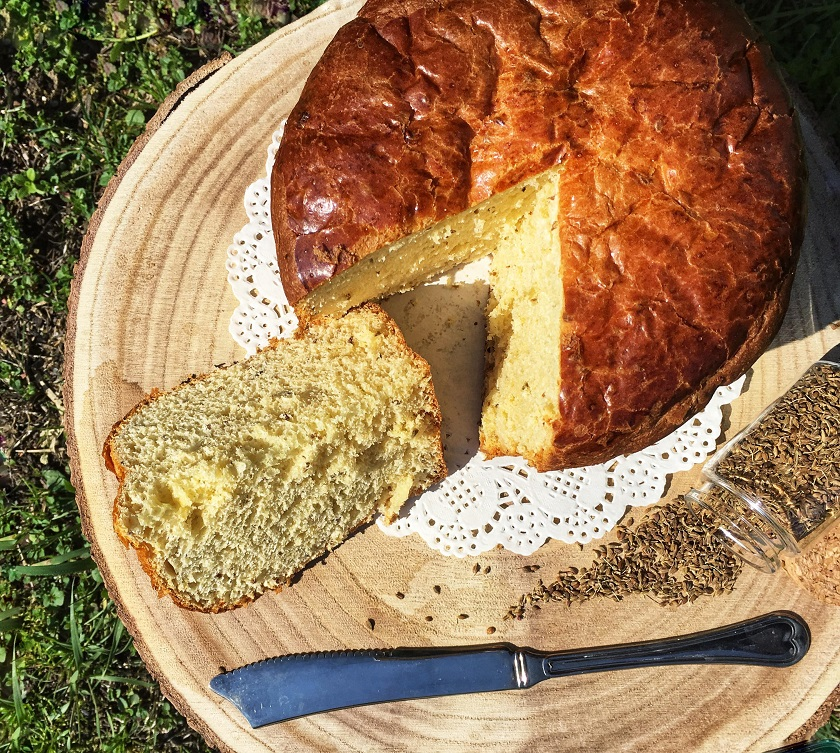
As a child, I remember a lively atmosphere in our town. People would go up and down the alleys from early morning until sunset. I could sense Easter approaching just by catching a whiff of the air. Suddenly, I was enveloped in the delightful aroma of aniseed and freshly baked cake, coming from the town’s wood-fired oven. Back then, household appliances were rare, and not everyone could afford an oven. So, during the Easter rush, when women prepared numerous oven-baked goods, they would rush up and down the main street with their kneaded doughs, waiting for their turn to use the town’s oven. Imagine the oven working tirelessly day and night, baking hundreds of pans of traditional delicacies, which they would then take back home. The smell that filled the air back then was simply amazing!

tuscan-traditional-easter-cake

The origins of Sportellina cake

The connection between ancient traditions and nature is always interesting, as nothing is random. At the beginning of spring, hens laid more eggs than usual, which had to be consumed quickly due to the lack of modern storage methods. Therefore, this Easter cake, like many other seasonal cakes and dishes, was a good way to use up a significant number of eggs.

As I mentioned, our mother and grandmothers prepared this traditional cake in large quantities during Holy Week. The recipe required considerable effort and patience, given the lengthy rising and baking times. Imagine kneading and allowing the dough to rise repeatedly for at least five times before baking! This meticulous process was another reason for making the cake in large quantities. Some pieces were wrapped and given to family guests and neighbors, others were offered to the church for serving after Holy Mass on Easter Day, and a few were left for breakfast the following day.

In our fast-paced modern world, it’s challenging to imagine the time and effort required for such a lengthy and delicate preparation. Fortunately, you can easily find it at the supermarket. However, there’s something special about the experience of dipping your hands into the dough and kneading it. It’s a moment of peace and reflection, allowing your thoughts to flow freely. The sweet aroma of aniseed and mint liqueur fills your nostrils, transporting you back to your childhood. Regardless of the time it takes, the reward is immense when you see that precious piece of dough rise and turn golden brown, a testament to your dedication to preserving the tradition.


The Sportellina Recipe:

  • 1.5 kg 00 flour
  • 50 g brewer’s yeast
  • 150 ml milk
  • 7 eggs (plus 1 for brushing the surface)
  • 450 g sugar
  • 110 g extra virgin olive oil
  • 50 grams of butter
  • 50 grams of mint liqueur
  • 50 grams of maraschino
  • 15 grams of aniseed
  • 1 orange (zest and juice)


Method:

  1. First, dissolve the brewer’s yeast in the warm milk. Gradually add about 300-400 grams of flour and mix until well incorporated. Knead the dough into a ball and let it rest in a bowl for about 2 hours.
  2. After two hours, mix in 3 eggs, 150 grams of sugar, 40 grams of olive oil, and another 400 grams of flour. Let it rest again in a warm place until it doubles in volume (this time, it will take about three hours).
  3. For the third step, add in 2 eggs, 150 grams of sugar, 40 grams of olive oil, 25 grams of mint liqueur, 25 grams of maraschino, and another 400 grams of flour. Knead the dough again until all ingredients are well combined and let it rest for another 3 hours.
  4. Finally, mix in the remaining ingredients and knead the dough for a while. Then, let it rest for another 3 hours. Divide the batter into three equal parts and place them in the baking molds (we use the same molds as for Panettone). Cover the molds with a warm cloth and let them rise for 4-5 hours, or until they double in volume.
  5. Brush the top of the cakes with beaten egg and bake them in a preheated oven at 180°C for about 50 minutes, or until the surface turns brown. Let them cool in the oven for 10 more minutes before removing them.


(Note) You can store the cakes in a plastic bag in a cool, dry place for up to one week. This way, you can bake more pieces and offer them as an Easter gift to family and friends, or enjoy them as a delicious breakfast for a whole week! Enjoy!

tuscan-traditional-easter-cake-buona-pasqua

Baby it’s cold outside!

The renowned Florentine bread soup

In the past, a chilly winter day in the countryside was often warmed up by a comforting pot of hot vegetable soup, known as ‘ribollita’ or ‘minestra di pane’ (bread soup). This traditional peasant dish, with its deep roots in the Middle Ages, was typically prepared in large batches on Fridays to be enjoyed over the weekend. The reason behind this practice was twofold: it ensured that the soup could be stored and consumed for several days, providing sustenance for the entire family. Moreover, the soup turned out even more flavorful the day after it was made. Initially, the soup was served with chunks of white Tuscan bread, which were dipped into it, creating the delightful combination of ‘minestra di pane’ (bread soup). The leftovers were then re-boiled the following day, resulting in the hearty ‘ribollita’ (re-boiled bread soup).

Ingredients: Cavolo nero

To this day, Tuscan bread soup remains the ideal way to keep warm during the cold season while simultaneously providing a nutritious boost of vegetables. Its perfect blend of carbohydrates, legumes, and vegetables makes it a wholesome choice.


The star of this dish, and the one that truly defines its character, is the Tuscan kale, also known as lancinato kale. It is an essential ingredient for an authentic taste, and it is impossible to call it ‘ribollita’ without it. We refer to it as ‘cavolo nero’ (translated as black cabbage), and it is a leafy, dark-green type of cabbage that is packed with over 50% of the recommended daily allowance of vitamins A, C, and K. It is also rich in antioxidants and other essential nutrients, and it is remarkably low in calories. This super ingredient can be found in every Tuscan farmer’s orchard from November through spring. It is best enjoyed freshly picked during the cold season.

The recipe for Tuscan bread soup is a family heirloom that has been passed down through generations. It’s a simple yet delicious dish that fills your home with the comforting aroma of a special dinner.


Ingredients:

  • Extra virgin olive oil, freshly cold-pressed
  • 300 grams of dry borlotti beans
  • 400 grams of Tuscan kale
  • 3 carrots
  • 3 potatoes
  • 1 red onion
  • 1 celery stalk
  • 1 twig of thyme
  • 2 cloves of garlic
  • 2 thick slices of Tuscan prosciutto pork ham

Method:

  1. In a large pot, heat a generous amount of extra virgin olive oil over a low flame. Add the prosciutto, carrots, celery, and chopped onion. Cover the pot and stir-fry for about 5 minutes. Add the remaining vegetables, thyme, and beans.
  2. Make sure the vegetables are cut into small pieces to ensure a thick but not chunky soup. Pour in at least 1 liter of hot water and 3 four-fingered pinches of salt. Lower the flame and cook for at least 90 minutes, covered with a lid.
  3. Serve the soup piping hot, garnished with freshly ground pepper and chunks of Tuscan white bread. The bread can be dipped into the soup, lightly rubbed with garlic, and generously sprinkled with Tuscan extra virgin olive oil.


(Note) For the best flavor, let the soup sit in the refrigerator for a night. This allows the flavors to meld together beautifully. The next day, simply bring the entire pot to a boil and enjoy a warm bowl of delicious ribollita.


This Tuscan basic recipe is perfect for the season. Why not try it out and impress your family with a new and nutritious dish that will warm your winter holidays?

Oh, and remember: when you visit Italy during the summer months, don’t ask for a pot of ribollita. It’s definitely off season! Have a holly jolly winter everyone!

La Cipolla di Certaldo: the Sweet Red Onion of Certaldo

Back in the XIV century, Boccaccio, in one of his most famous stories from The Decameron (VI, 10), wrote about Certaldo.

This little story shows that Certaldo’s red onion has been known for ages, even before the middle ages! It’s a slow food product and a true treasure of our land, available in two types: Stantina, a round, purplish onion with juicy flesh that’s best enjoyed in the summer, and Vernina, a bright red and tangy onion that’s picked from late August through the winter and is a symbol of Certaldo.

Certaldo, as you may have heard, is a castle of Val d’ Elsa situated in our county, which, however small it may be, was once inhabited by noblemenand men of substance; and thither, for that he found good pasture there, one of the friars of the order of St. Anthony was long used to resort once a year, to get in the alms bestowed by simpletons upon him and his brethren. His name was Fra Cipolla (Friar Onion) and he was gladly seen there, doubtless due as much to his name, as to other reasons, for thus it was known that the soil of those fields produces onions, that are famous throughout all Tuscany.

But even before Giovanni Boccaccio’s Friar Onion, the red onion had already become a symbol of the hardworking, strong, and sweet nature of Certaldo’s people, and it was even on the town’s flag. It was on the white side of the two-tier shield, with the motto: “By nature, I am strong yet sweet, and everyone here likes me, those who work and those who sit.” But in 1633, the Priors in charge of the town thought the crest wasn’t good enough for their town and changed it to a lion. Later, in the XIX century, the city council brought back the original crest, which you can still see on our town’s flag today.

When you’re in Certaldo, don’t be surprised if you don’t see onions everywhere! Most farmers here grow their own for family use or to sell locally. If you’re on the hunt for these sweet red gems, your best bet is the weekly local markets on Wednesday and Saturday, or the annual Sagra della Cipolla (The Onions’ Festival).

We’re so proud of our local onions that we celebrate them every year with a week-long festival! It’s held in the old town of Certaldo Alto, usually around the end of August, when our farmers harvest the Vernina type. Every evening, we get together to enjoy the delicious dishes made with red onions, using recipes passed down through generations. People from all over come together, including locals, visitors, and even tourists, to feast on the good food and plenty of Chianti wine from our local producers, all while enjoying theater plays or themed performances.

The main goal of this event is to keep the old recipes and traditions alive, but we also want to look to the future. So, on the second-last day, the festival features a food competition between the town’s quarters, which is a preview of The Calambur: Certaldo’s medieval Palio, which will happen a few weeks later. Each quarter has to come up with a new and creative dish made with red onions. A committee of the public gets to taste and vote on the best recipe. This year’s competition is extra special because they have to create a dessert! I bet you’ve never thought of onions for dessert, but you might be surprised by the genius recipes and flavor combinations these people have come up with over the years.

They’ve evolved from simply making the usual soup, pasta, and meat dishes with red onions to pickling, canning, making jam and jelly, adding them to chutneys, sweet and salted pies, and even using them as homeopathic medicine, inspired by ancient remedies passed down from our grand-grand-parents. In essence, if you’re a big fan of red onions like we are, you can create almost anything with them!

At the Cooking School, we’re known for our most famous, handmade Red Onion Jam. It’s a family tradition that has been passed down through generations. It has a delightful bitter-sweet flavor and goes wonderfully with local pecorino cheese and salami, or Giuseppina’s special pork tenderloin in an old-style dry marinade… absolutely delicious!

If all this onion talk has captured your interest and you’re thinking of trying onions for dessert, here’s a special treat for you. This was created and shared by Carina, a friend of mine, and I’m telling you: if you’re into onions, you absolutely have to try this one!

Did we get you mouth-watering yet? Then here’s the recipe for you!

Red wine caramelized onions & dark chocolate tartlets

Slice up 2-3 sweet red onions from Certaldo and toss them into a pan with a tiny bit of unsalted butter and about 2-3 tablespoons of muscovado brown sugar. Cook it gently on low heat until it’s soft but not browned. Then, pour in a glass of Chianti red wine, sprinkle in a pinch of ground cinnamon, ground cloves, a few cardamom seeds, and some pink pepper granules (or any other spices you like). Let the liquid simmer until it’s mostly gone and the alcohol evaporates. Finally, add a chunk of dark chocolate. Let it sit for a bit, then get ready to make your favorite shortcrust pastry. The one I used had a nice rustic flavor because I mixed in half of the plain white flour with buckwheat flour. Blind-bake your pastry in a preheated oven, let it cool down before taking it out of the pan, and fill each pastry case with the caramelized onions. Sprinkle some chopped walnuts on top and finish with goat cheese crème fraîche or vanilla ice cream. Enjoy!

Have you tried this recipe? Share your photos in the comments below and tell us what you think!

P – for Pasta: fresh, handmade & delicious

Raise your hand if you’re a homemade pasta lover!

One thing I have noticed throughout the years, is that usually making fresh pasta is the best part of my cooking classes for our guests. I mean, let’s admit it, everybody loves the ITalia’s-style fresh pasta, and if you’re visiting Italy, pasta is one of the reasons why you’re here! So delicious, savory and somewhat chewy, fresh pasta can be complemented with almost everything from cheese to vegetables, meat, fish and even chocolate! Plus, if cleverly accompanied by the right wine, it makes the perfect Italian meal.

It’s been said to be one of the healthiest and most nourishing dishes worldwide, as part of the mediterranean diet, so why be limited to just eating pasta at the restaurant every once in a while, when you can make it from scratch at home, whenever you wish.

Now, I know from my experience that cooking a dish of fresh pasta could sound rather intimidating for those who’ve never tried before, or have only seen it on TV. But I have some good news for you all, and according to my experience again, I can guarantee you that even a ten-year-old can do this, and you’ll never go back to buying fresh pasta again.

There’s something magical about making pasta at home the old way, that no one has yet managed to figure out. I myself have been doing it for years now, and every time I still have fun just like the old days.

It could be the marvel of feeling the dough coming together between your hands, or maybe the relaxing process of kneading and shaping, but as soon as you get your hands on and start doing it, you never want to stop. Then as you go, your mind lights up and you begin experimenting all different kind of shapes and fillings for your dough, and before you know it, you find yourself inviting your friends over for a meal and getting all the compliments and “aaaw”s and “oooh”s for your fresh Italian-style dishes.

It can get really fun and become a social activity to share with your kids, too. Don’t worry about the flour dust, streaked aprons and flaky bits of dough crusted on the kitchen counter. It doesn’t have to be a demanding work, so don’t loose heart if you don’t get it the first time. Just go for it and then keep trying. All you need is “an open heart and a positive attitude”, as my son Luca always says to our guests.

pasta-fresh-handmade-flour

We don’t need another pasta recipe

If you google fresh pasta you’ll find loads of recipes and every one will be different from the others, because every family has its own tradition when it comes to making pasta. So my intention isn’t just to give you one more fresh pasta recipe, but rather some helpful tips that I always share during my cooking classes.

My guests always appreciate the little tricks and tips I reveal and become more confident as they go, letting loose and having so much fun, which in the end, is the main purpose of this experience, don’t you agree?

So what’s really important is to have the right type of flour. My fail-proof recipe is based on the high-protein, finely milled “00” wheat flour, but if you have issues finding it, you can just go with the plain flour, or mix 2 parts of it with 1 part of semolina flour: this will add that slightly rougher texture that’ll help seasonings stick better to your pasta.

On a wooden or marble counter, start building a so-called “fountain” and break the eggs right in the middle, making sure they are well contained by the flour around them. Then add just a pinch of salt and a sprinkle of extravirgin olive oil. Use a fork to break the eggs and start mixing them reaaally slow, keeping everything inside the flour fountain, until everything is fully incorporated and you get a smooth uniform texture.

Now here comes the fun part! I know in modern times you may be used to getting things done quickly and with an extra help from your stand mixer, but kneading by hand is another story. It really makes you feel the dough coming together and it somehow connects you to the whole process. All you have to do is press and push with your wrist, then fold the dough over and again press and push. Just go ahead and knead it like this until it’s smooth and firm, it’ll take no more than 10-12 minutes.

Using hands gives you the chance to check when your pasta dough is ready – if you feel it’s still sticky, just dust the counter with more flour and keep kneading until firm and dry.

Another important step in making pasta, is to give your dough the necessary time to relax and loose elasticity; that’ll keep it from shrinking or pull back as you stretch it, making it easier for you to roll it flat and shape it. Let’s say about 10 minutes at room temperature, covered by a cotton cloth, should be enough. This’ll also give you the time to reorder the kitchen counter and prepare the pasta machine for shaping, or get the filling ready if you’re into making filled-pasta.

Common forms of fresh pasta have long shapes, such as tagliatelle, fettuccine, spaghetti, linguine or our specialty Tuscan pici, flat shapes such as maltagliati, or sheets for lasagna, short shapes like orecchiette, cavatelli, farfalle, trofie and filled or stuffed shapes such as cannelloni or ravioli, cappelletti and tortellini.
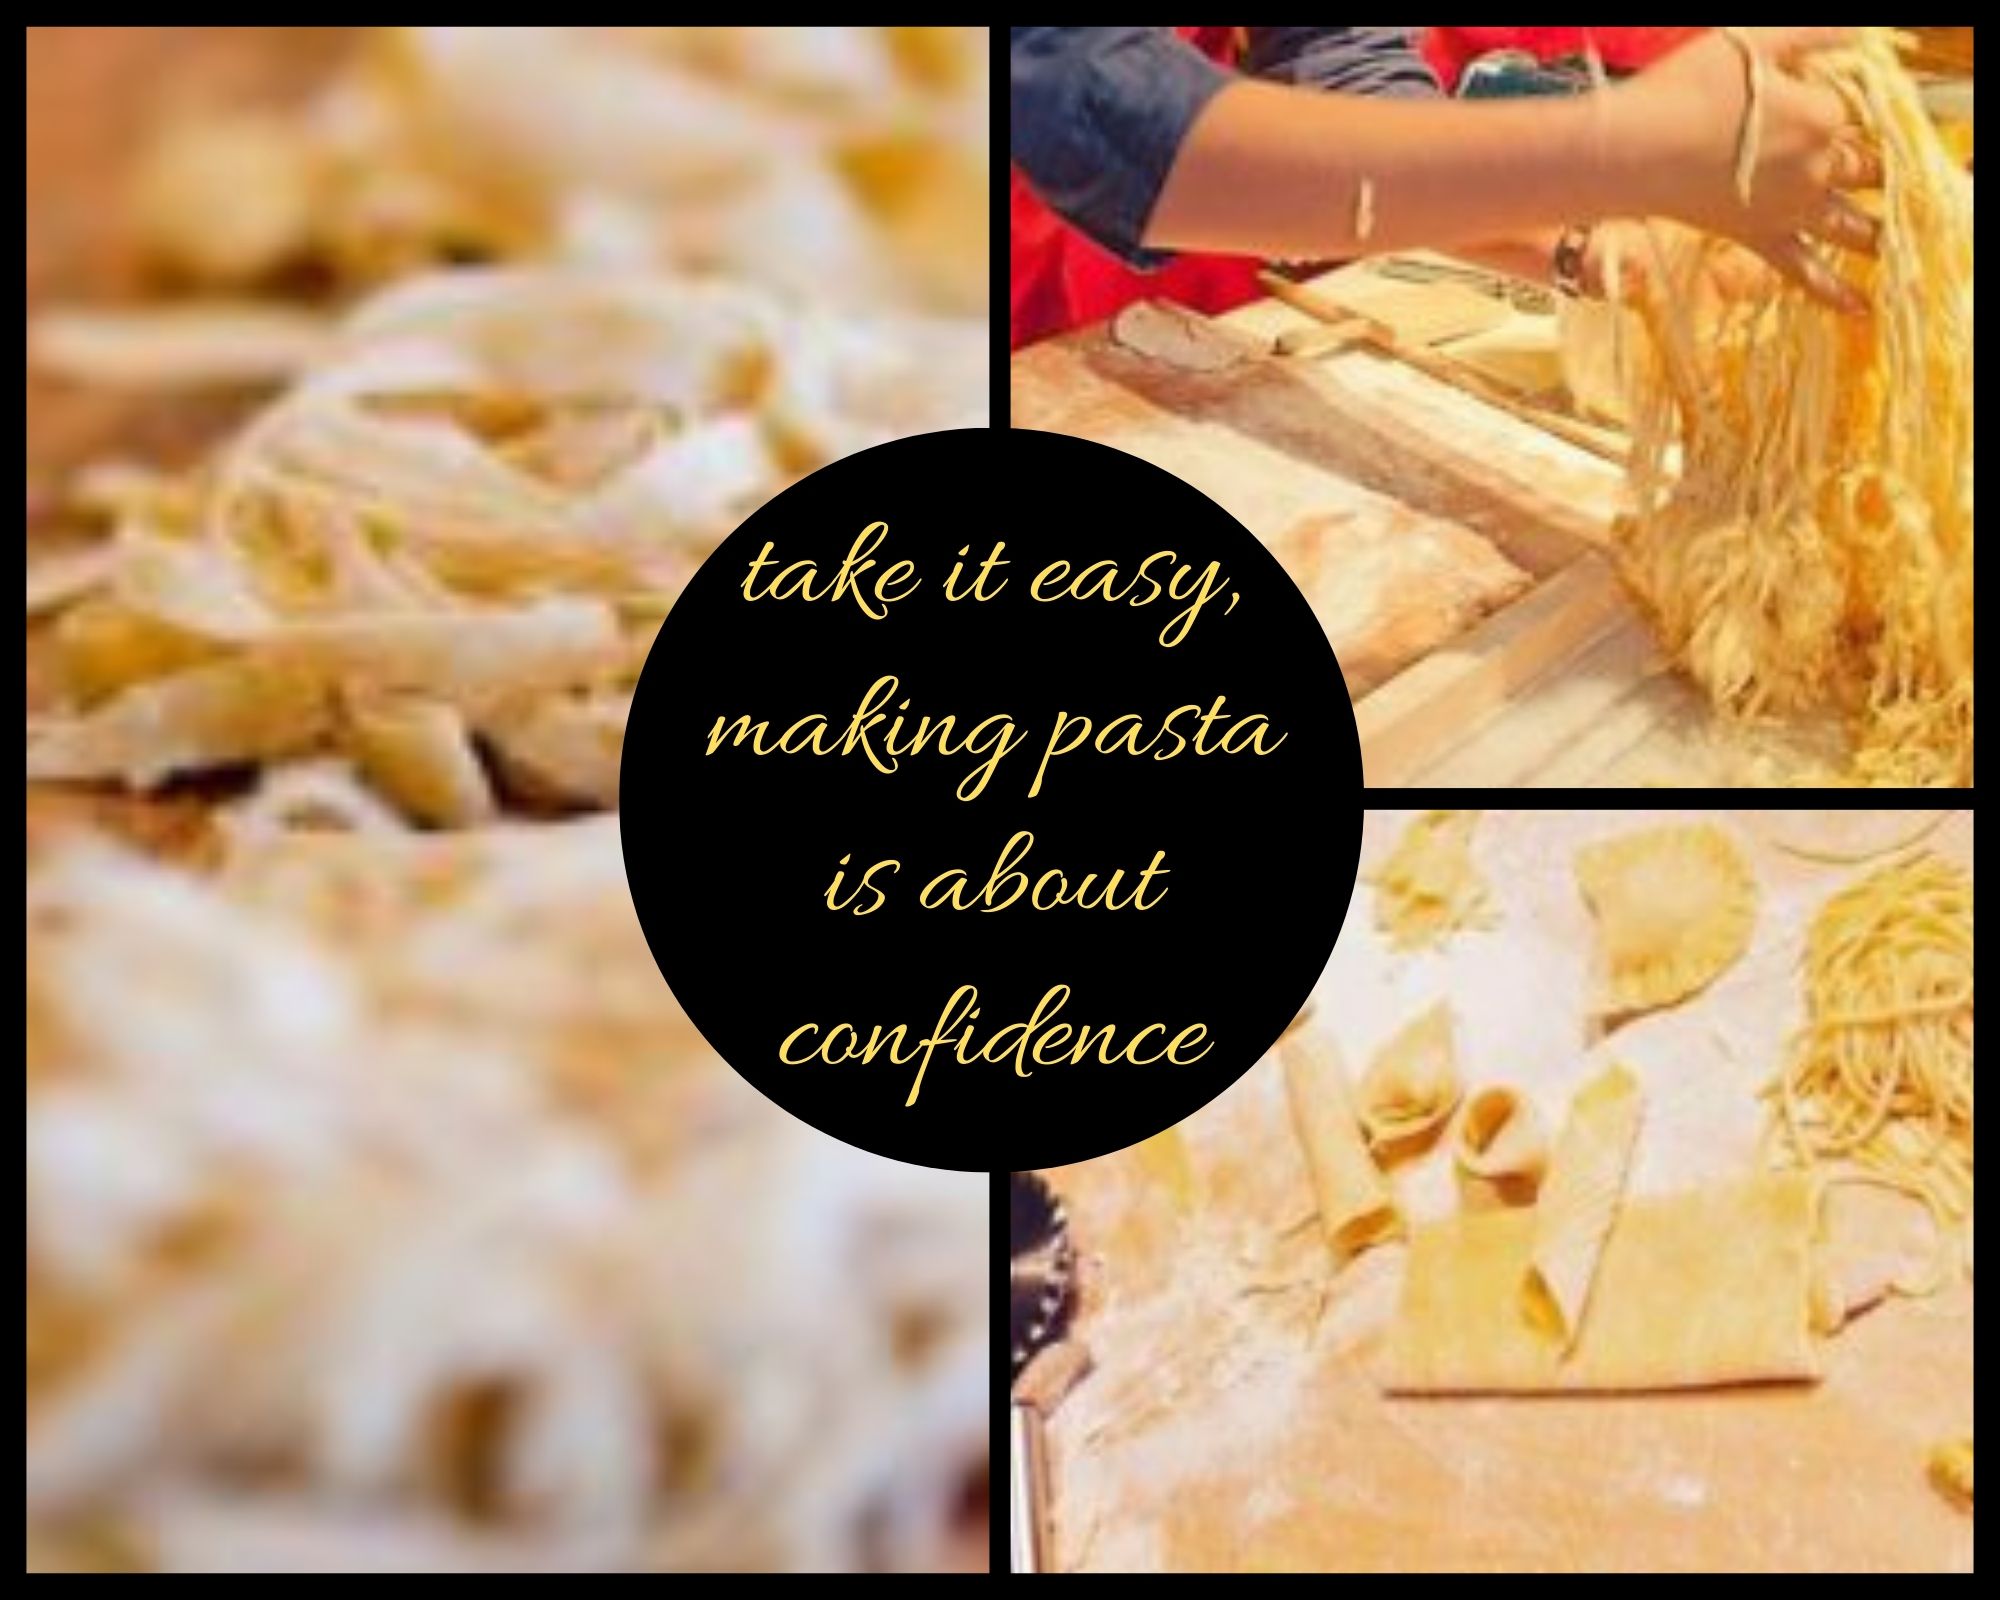
Of course Italy has a very deep-rooted tradition for pasta dishes, and that is why every region has its own traditional pasta shapes and names, that can be totally different from the common ones you are used to. I always suggest to search for and taste the local and regional specialties while visiting any part of Italy, because you’ll never find the same dish cooked alike from one place to another.

Cutting the pasta in the desired shape is also an important part of the process, as you have to pay attention to spread it as thinly as possible and always keep some flour handy, so you won’t get a sticky bundle instead of your tagliatelle nest… I always say to my guests, we want them to be fluffy, fluffy, fluffy, it makes them laugh a lot, but in the end is the one thing they remember the most. So to get that, you need to sprinkle some flour over the shaped pasta and then jiggle it with your hands.

When making filled pasta like ravioli, the most important trick is to press the edges well with your fingertips or a fork to seal the dough, so they won’t open while boiling. And of course, flour again to prevent them from sticking together when cooked.

If you’re not cooking pasta immediately, just let it dry on a baking sheet for a few minutes, sprinkled with flour, then fold it gently to form the nests. You can let it dry some more and then wrap it up and store in the fridge for no more than 2 days. However, I do advise you to taste it fresh, as you make it.

Cooking pasta is another important step of the process, as you need to pay attention to the time: it will only take 5-7 minutes to cook fresh pasta, unlike the dried one, which needs considerably more boiling. Dip your shaped pasta into a pot of plentiful salted boiling water and add just a touch of olive oil, so the strands won’t stick together. For fresh filled pasta, always use a gentle flame and keep the water simmering instead of boiling, so your ravioli won’t break.

One more thing that I always recommend, is to taste everything you cook; so to make sure it has reached the perfect cooking point and has a good balance with the salt, just pick a piece of boiling pasta with a fork or some tongs, and give it a bite. Careful though, don’t get burned!

Needless to say that pasta is at its best when cooked “al dente”, so as soon as you feel it’s tender but still firm when bitten, just drain it. At this point, you should keep the sauce or chosen condiment on hand, because pasta needs to be seasoned and stir-fry immediately.

Now all you need is your family and friends gathered around the table and a good glass of wine to go with your wonderful fresh homemade pasta. Enjoy!
B – for Bread

Saturday kneading

Winter time is the period for indulging the joys of country life.

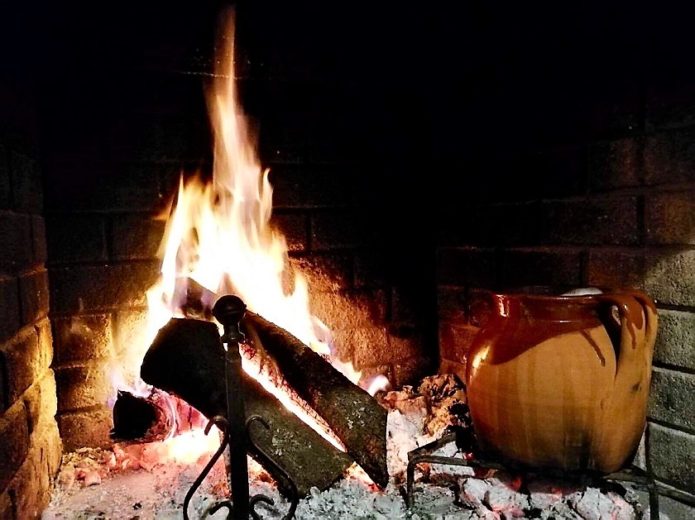
That’s why Sunday is the day for bread baking, good bread that lasts an entire week. Our sourdough was resting in a jar by the fireplace since last weekend, as a sly cat. The recipe is so simple that it just had flour and water fermenting.

Saturday evening, it’s time to awaken our natural yeast. By adding flour and warm water, we begin kneading. For our family, we typically use about six kilos of flour.

Sunday is quickly approaching, and our dough is returned to the fireplace. It rests and rises overnight. Natural rising, without the use of yeast, requires more time, but we don’t rush. We can bid farewell to our dough as we go to bed.

Sunday baking

Buongiorno!  Today, we’re not having a big breakfast. The feast will come later. After a good espresso, while we’re starting the fire in the oven, we shape the dough into loaves, fold them one last time, and letting them rise again for a couple of hours. During this time, the top of the oven will turn white, indicating that the temperature is right. We can then remove the fire and embers, clean the surface, and start baking.

All of the loaves must fit inside the oven or they’ll be wasted. The temperature is just right for one batch, so this is a delicate step that needs to be done gently but quickly. We need to seal the oven as soon as possible.

After an hour, the magic happens. As the smell spreads out of the oven, curious people will come out of their homes to get a taste.

Buona Domenica!